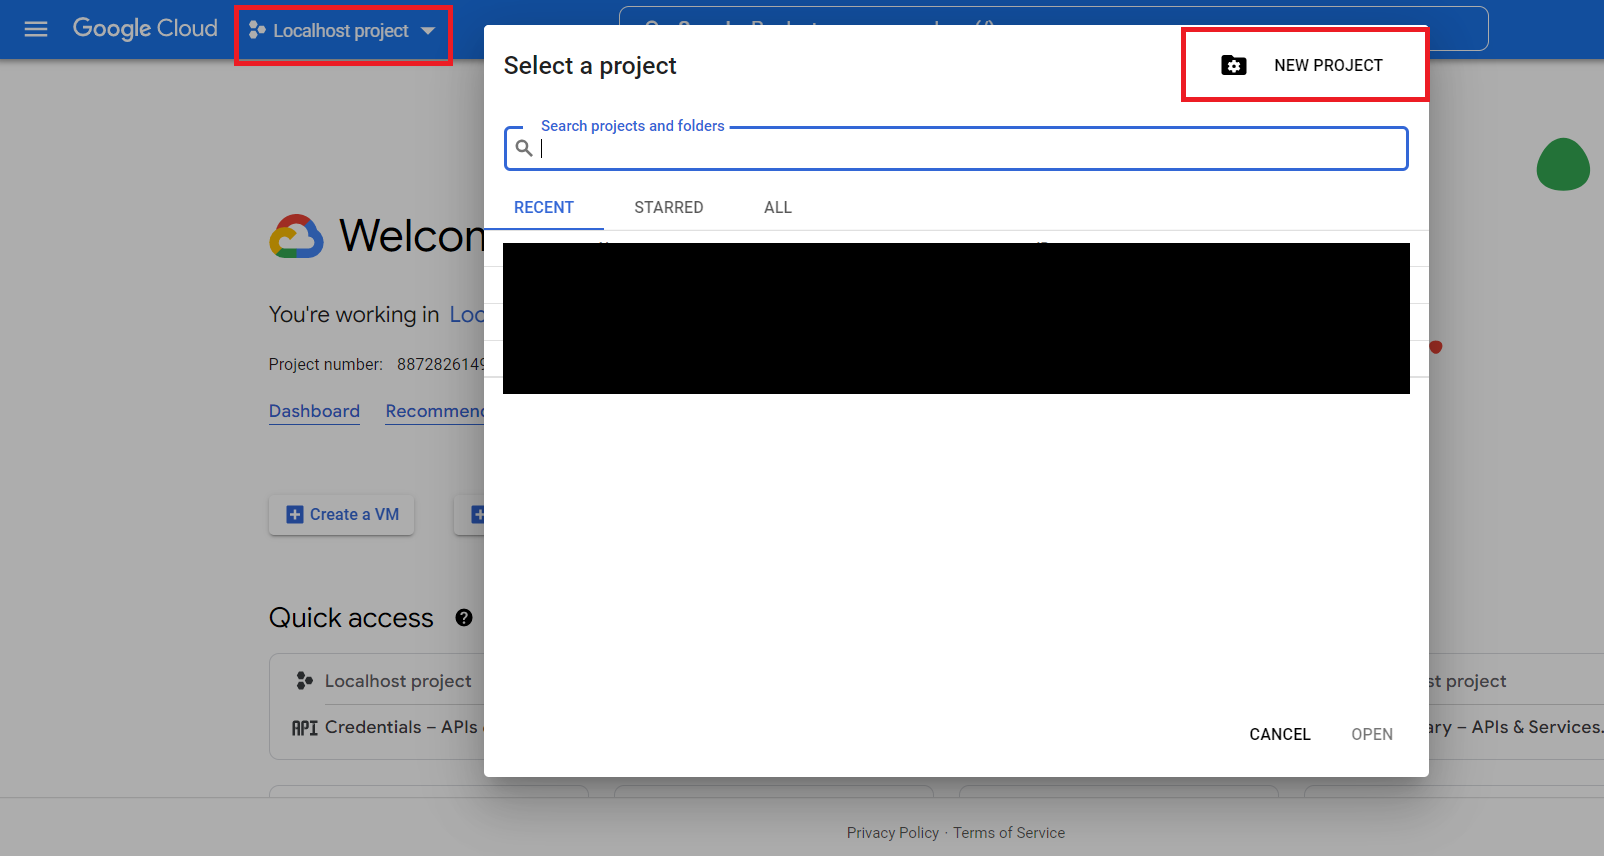
For this, you will need an active google account. After, you have to go to Google Cloud (link – https://console.cloud.google.com/). There you have to create & configure your project
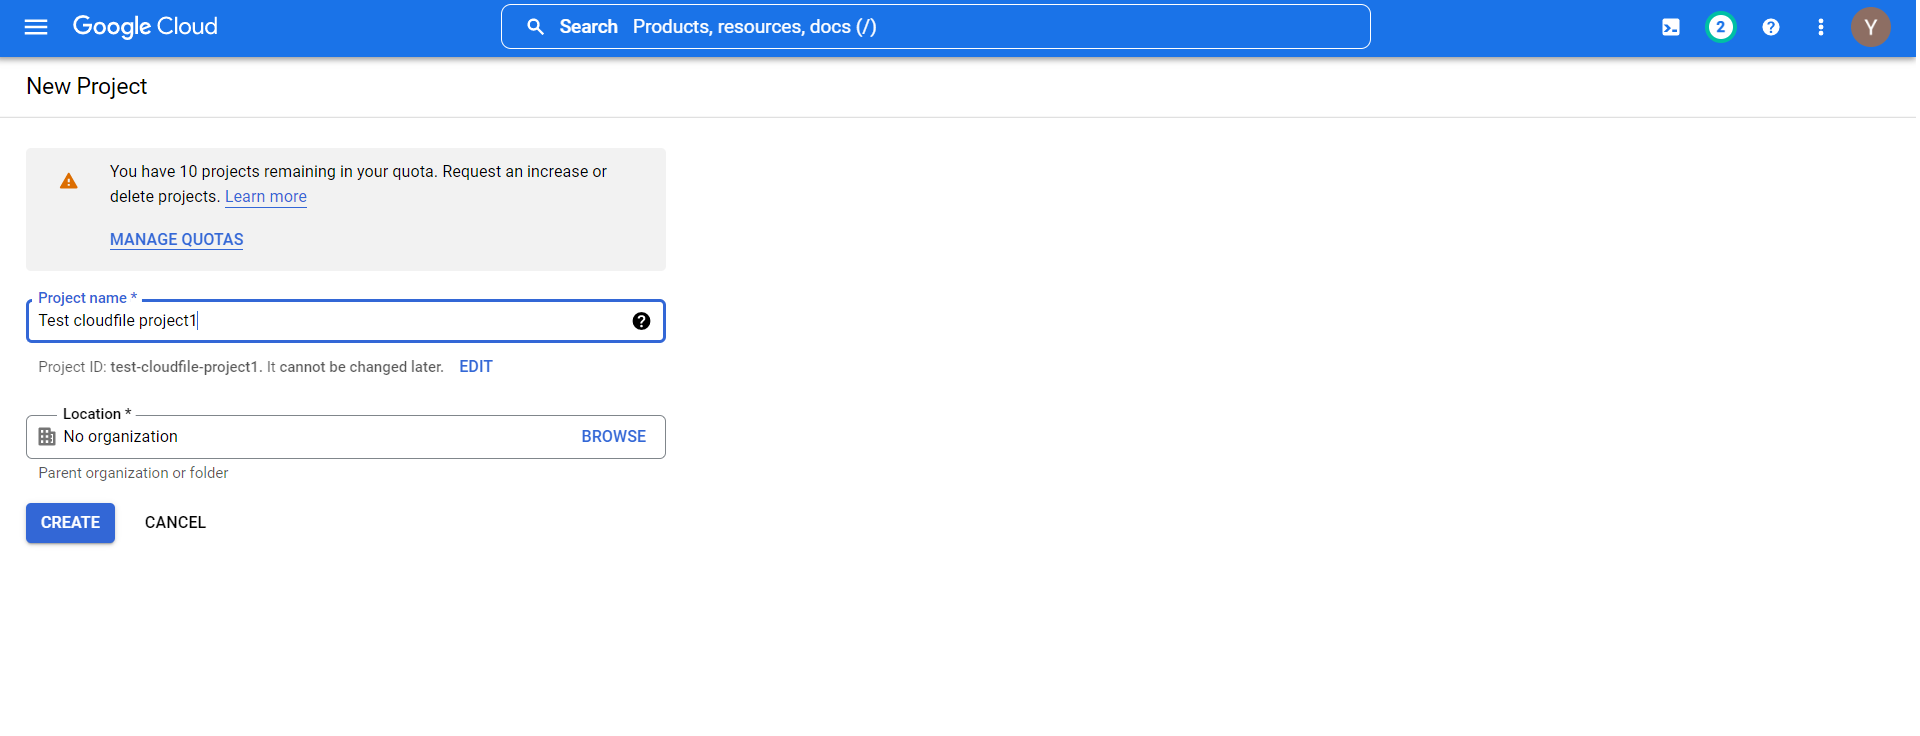
There we specify project name, and organisation (we do not need it here):
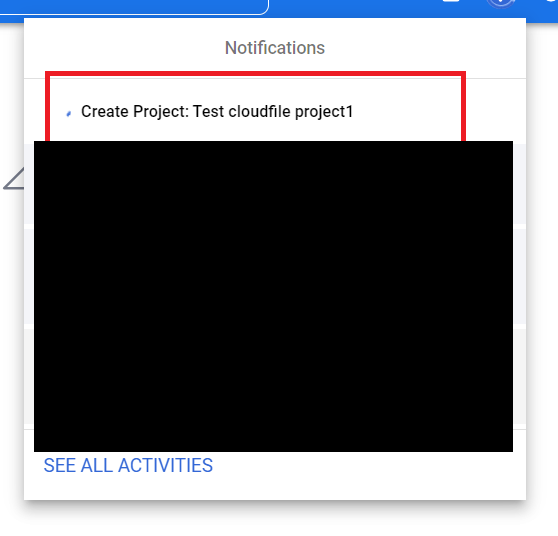
After you press `Create`, wait for at least few minutes, until project is created
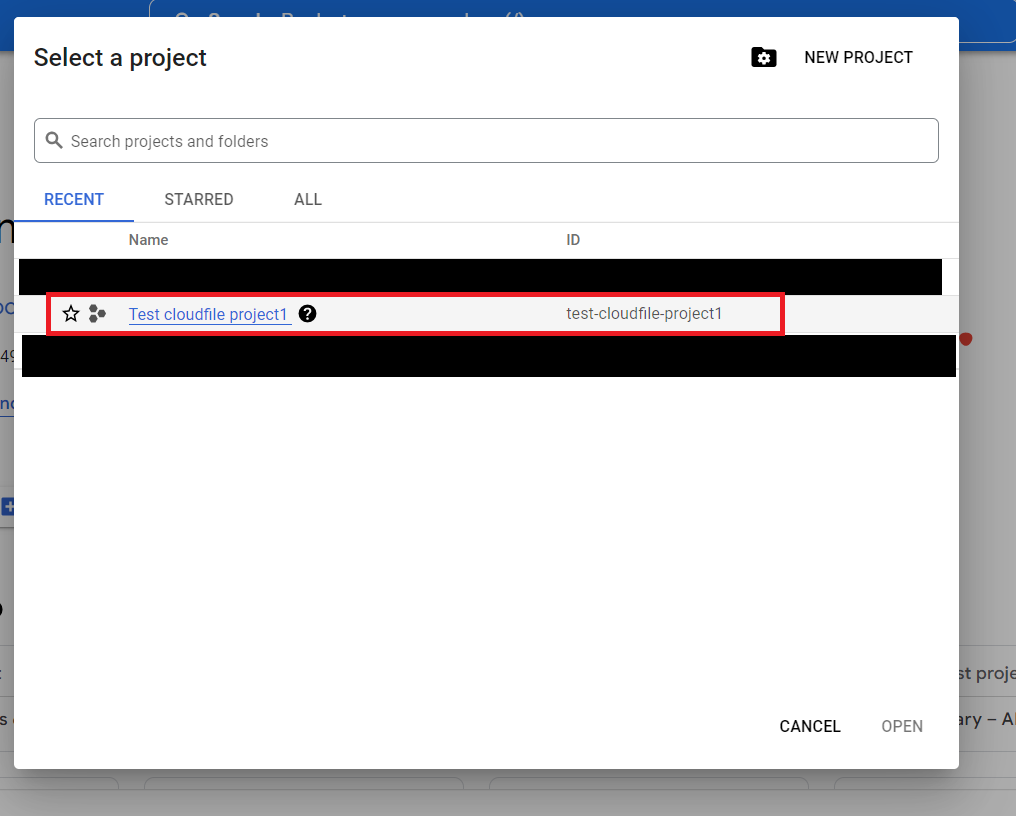
When the project is created, click on it:
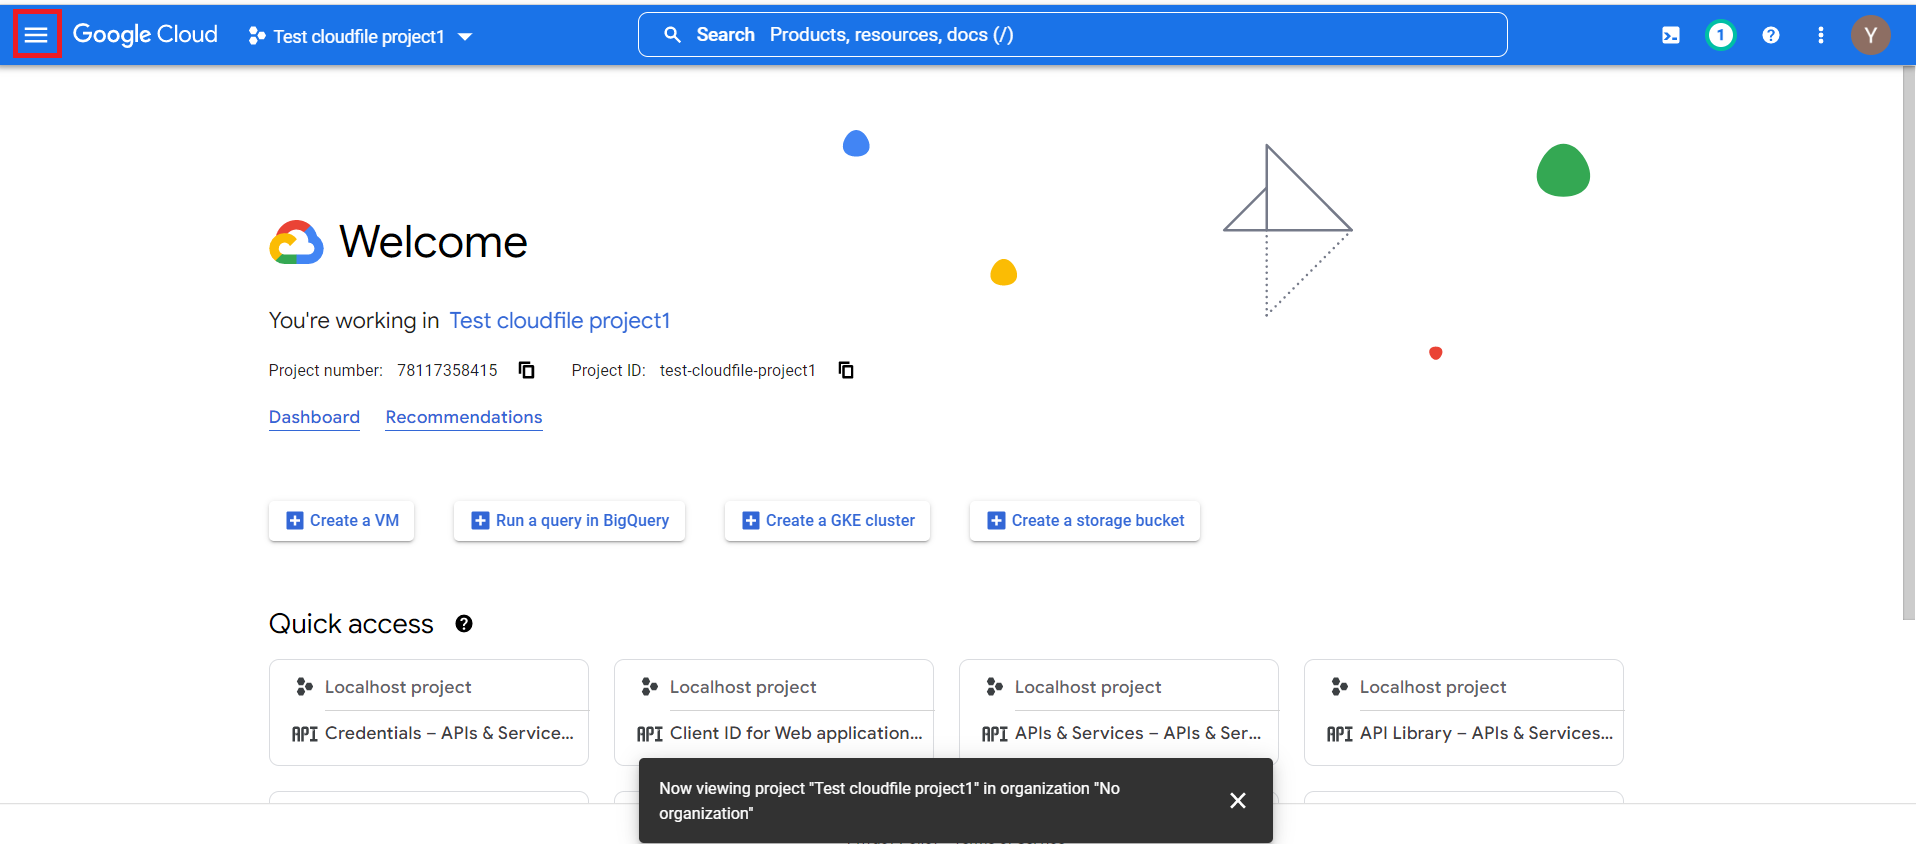
You can see the start page of your project. Go to navigation menu:
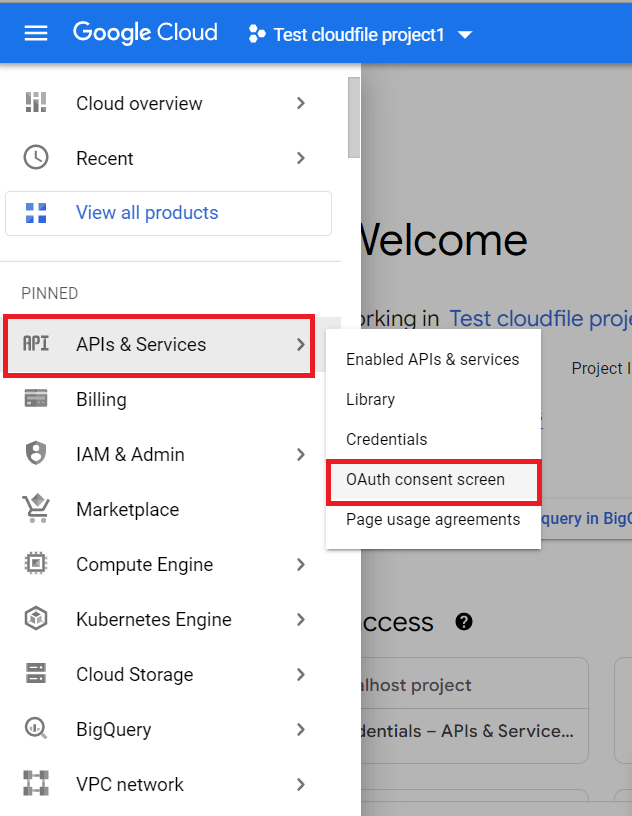
Go to APIs & Services -> OAuth consent screen
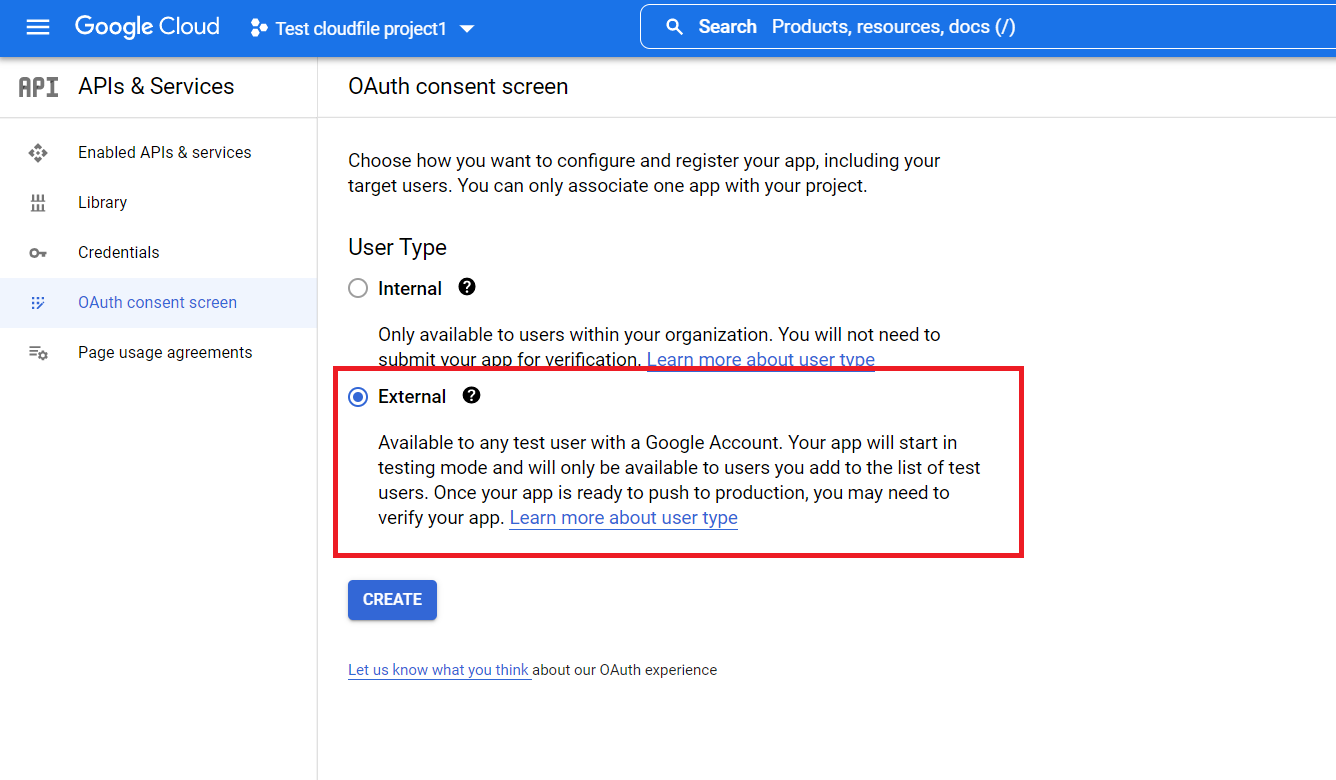
There, we can start to configure our project’s Google Auth screen. Select the ‚External‚ type, and press ‚Create‚:
Next, select the name for your Auth screen, support mail. Also you can select some logo, but it is not required:

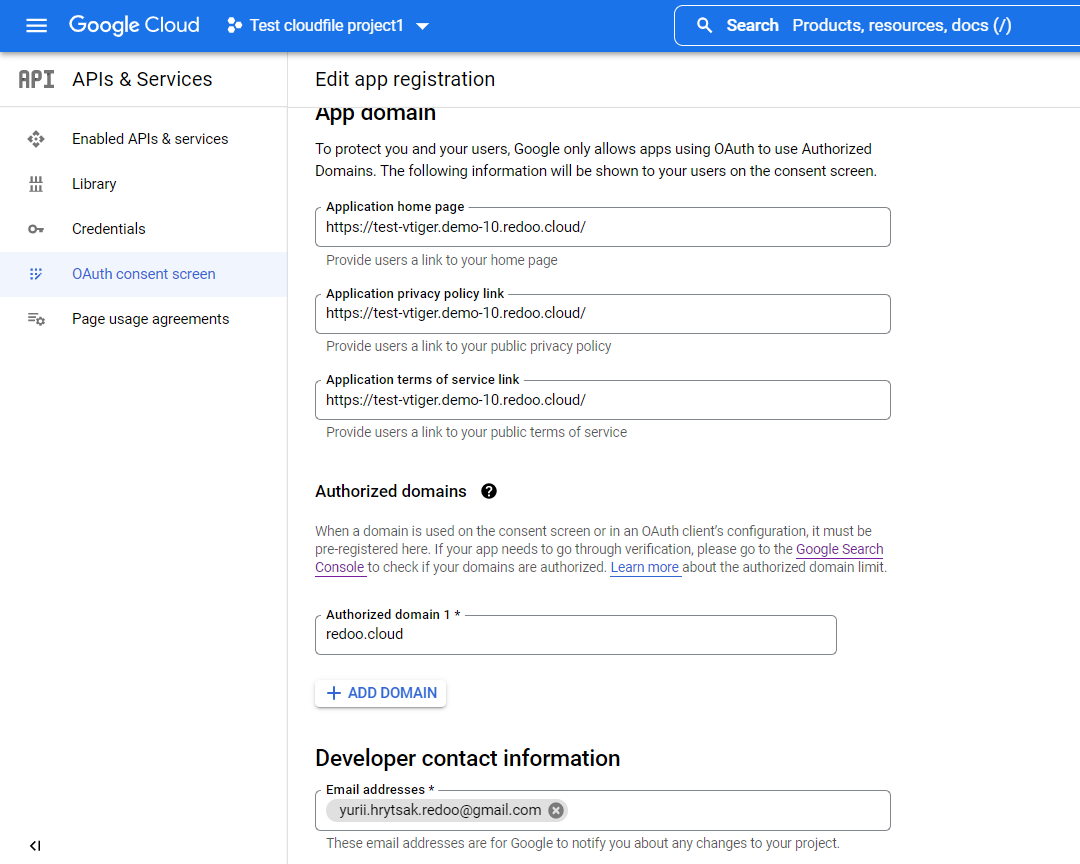
Then, type your CRM’s URL and top domain. Also, specify ‚developer email‘. There can be your’s account email:
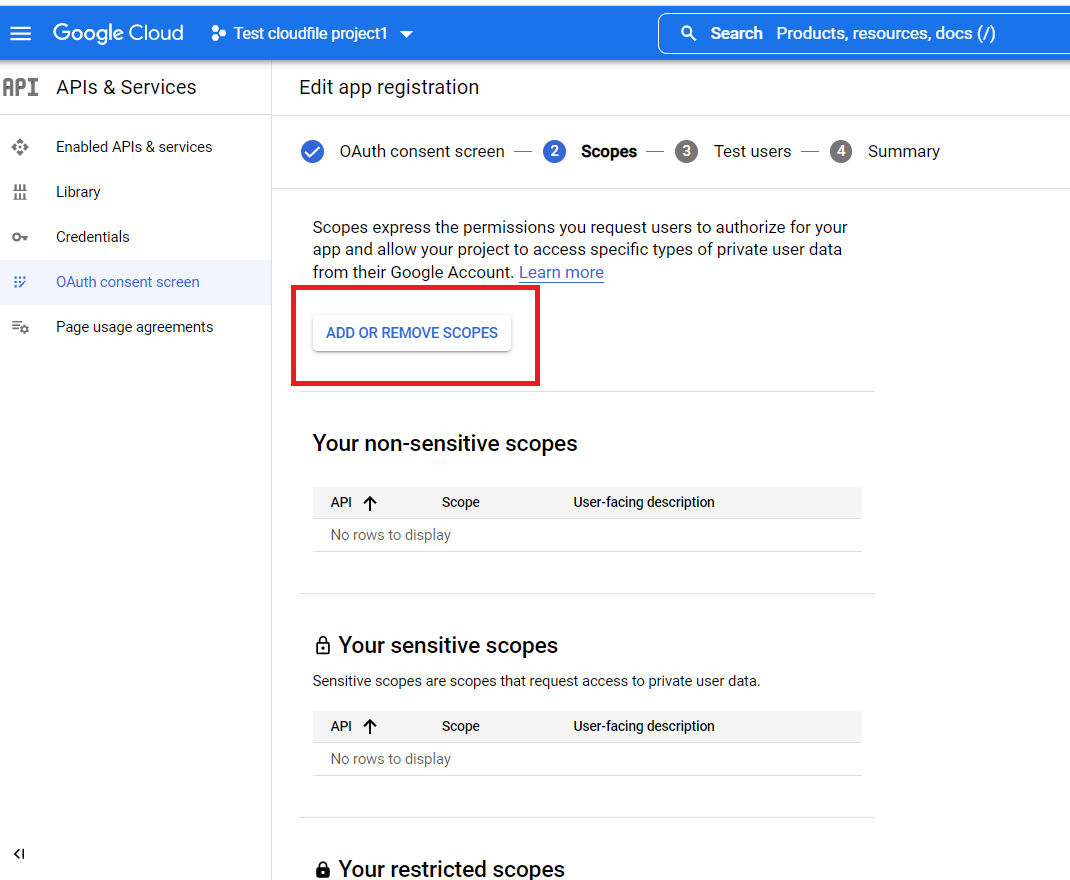
Hit save, and go to the next page. Press on ‚ADD OR REMOVE SCOPES‚:
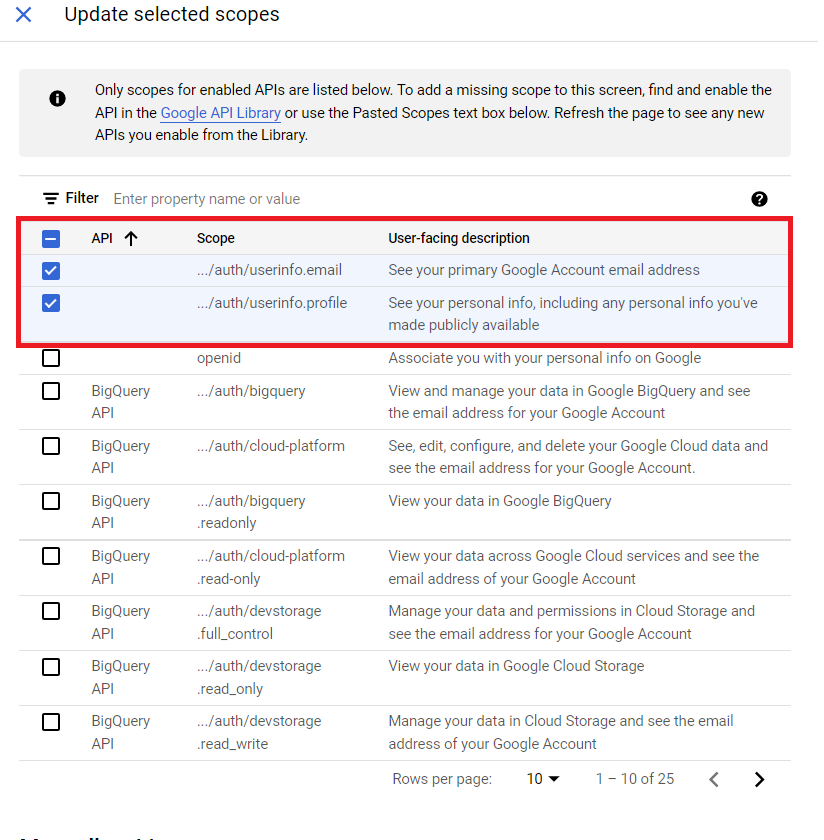
Select ‚userinfo.email‚ and ‚userinfo.profile‚, and hit ‚Update‚:
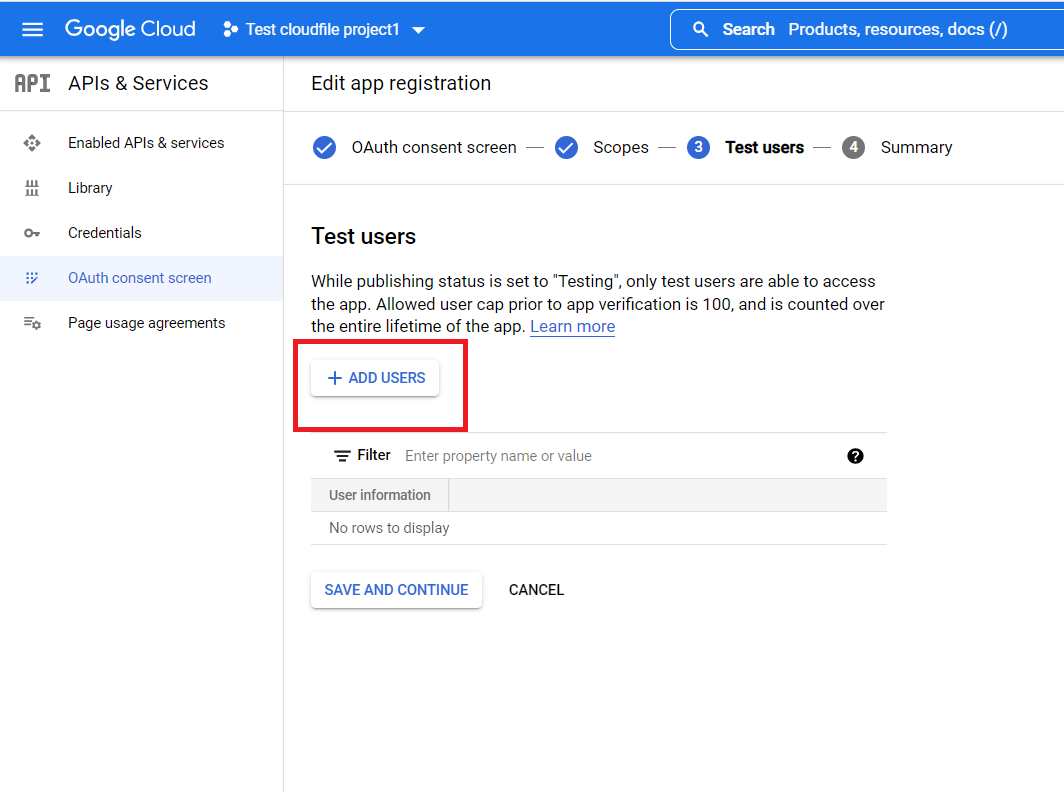
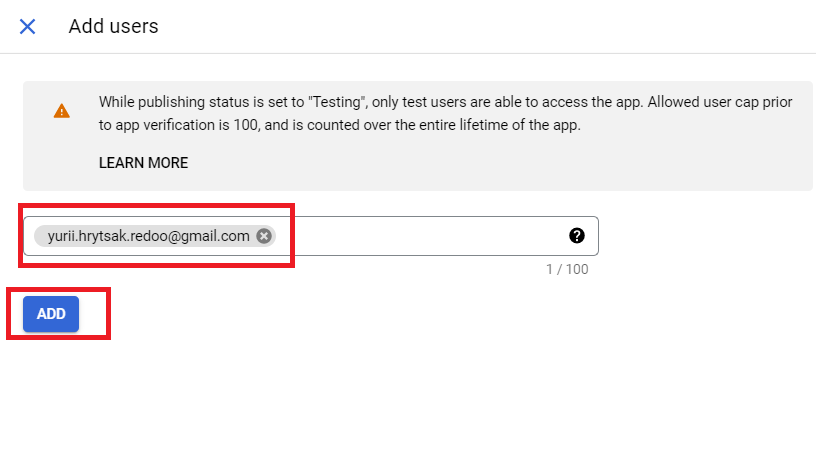
After hitting ‚Save and continue‚, move to another step. There, add a test user, which can log in with our Auth screen. This also can be your account:
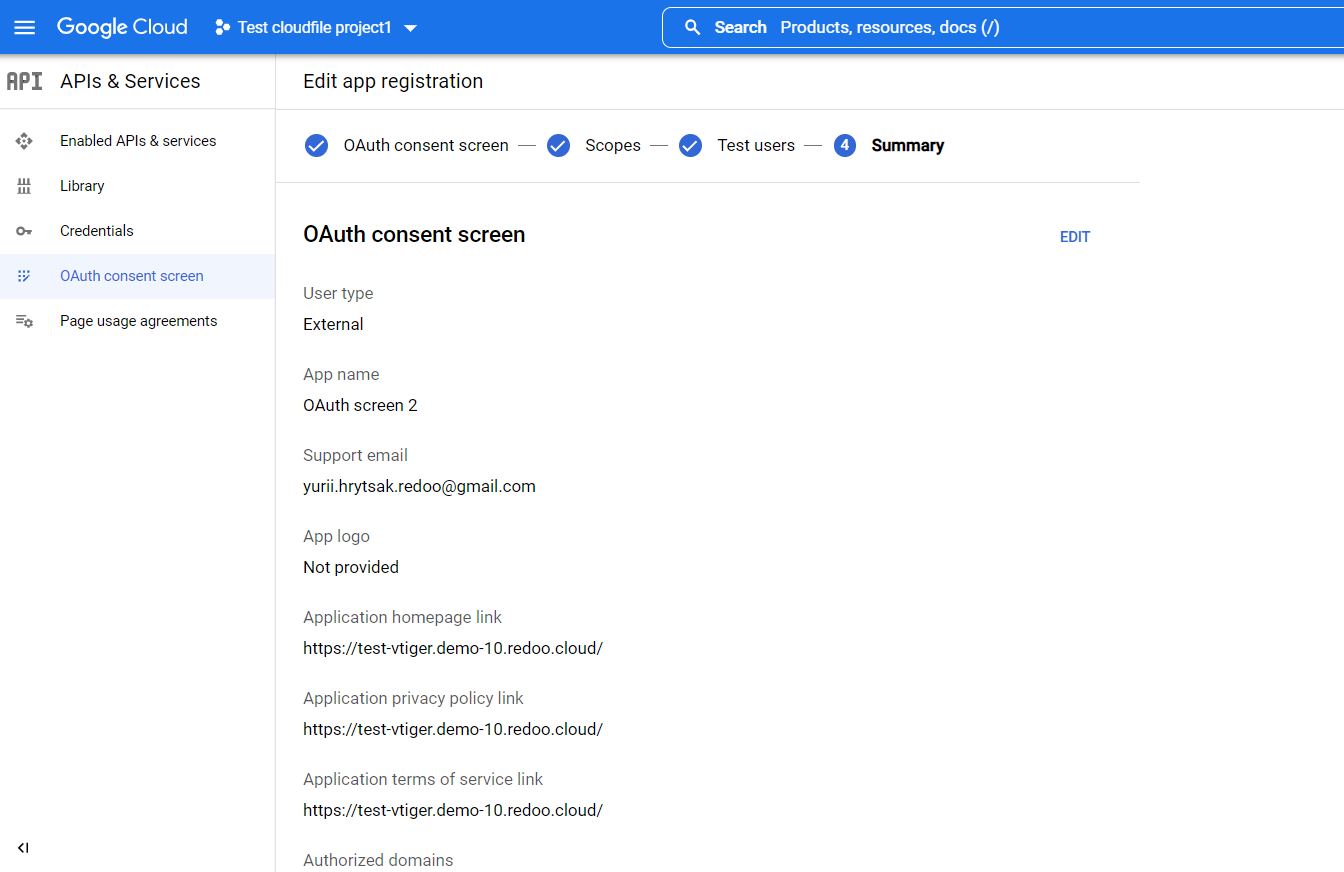
Save it, and move to another step. There you can see all your configuration for Auth screen: